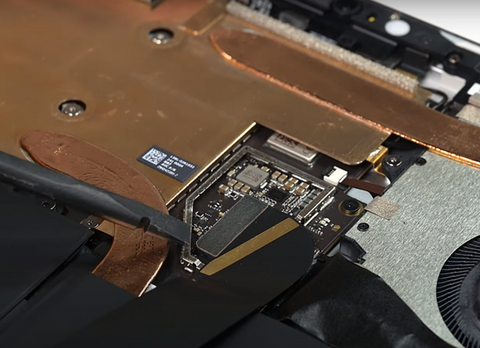
Do you want to replace the broken screen of your Surface Pro 9? Follow our easy step-by-step guide about Microsoft Surface Pro 9 screen replacement.
Here is a simple step-by-step guide to replace the cracked screen of Microsoft Surface Pro 9.
Step 1 Gather Necessary Tools

Collect all these tools to replace the screen of your Surface Pro 9:
- A set of screwdrivers
- A suction cup
- An Opening Pick
- Heat gun or hairdryer
- Spudger
- Isopropyl Alcohol
- Adhesive glue
- Gloves
- Safety Glasses
- Surface Pro 9 Screen Replacement
Important Tip
Wear gloves and safety glasses to avoid any physical damage.
Step 2 Power Off Microsoft Surface Pro 9
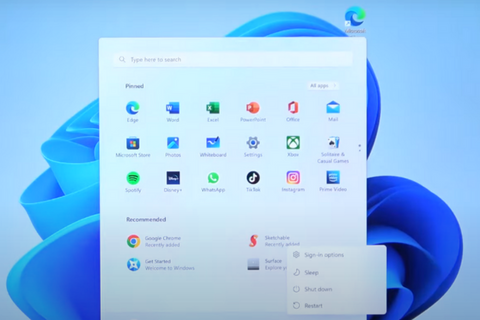
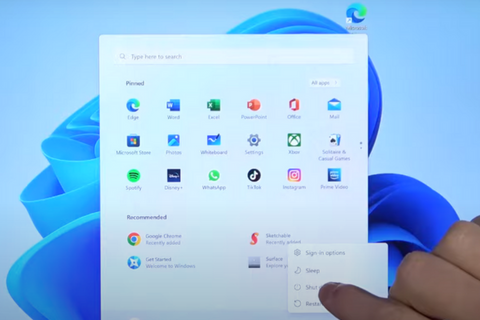
To Turn Off your Microsoft Surface Pro X:
Method 1
- Select Start
- Choose Power option
- Select Shut down
- Press and hold the power button for 4 seconds.
- Then swipe down.
Method 2
- Hold the power button for 10 to 15 seconds until the screen turns off.
Step 3 Open The Kickstand
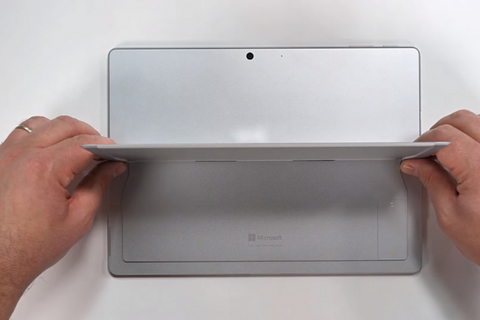
- To open the kickstand of your Surface Pro 9, gently lift the kickstand to a 90° angle.
Step 4 Unscrew The Hinge Screws
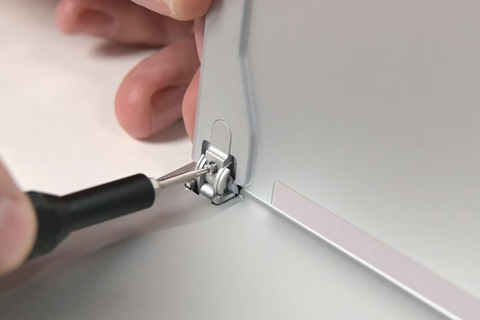
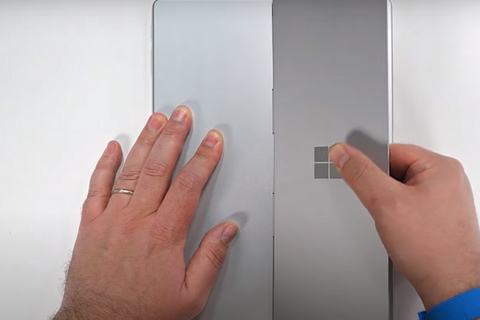
- Unfasten the two screws of your kickstand's hinge.
- Separate the kickstand to perform screen replacement.
Step 5 Open The SSD Door
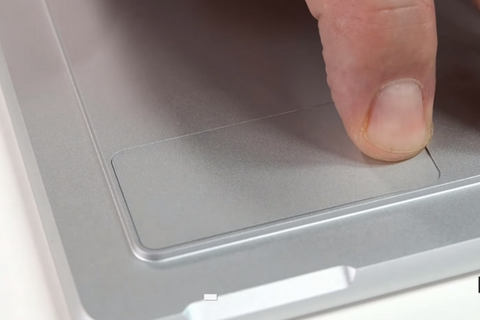
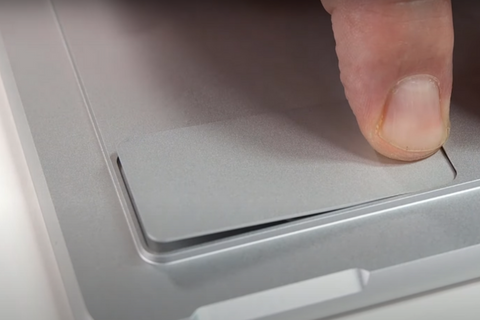
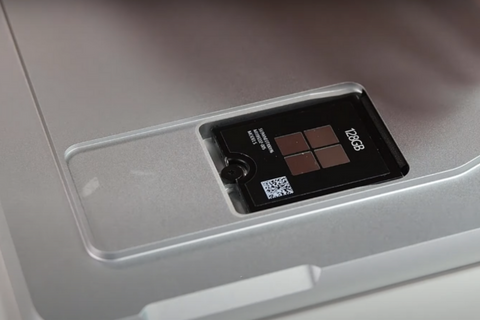
- Press the upper edge of the SSD door with your finger.
- The door will open.
- Use your fingers to remove the SSD door.
Step 6 Remove The SSD
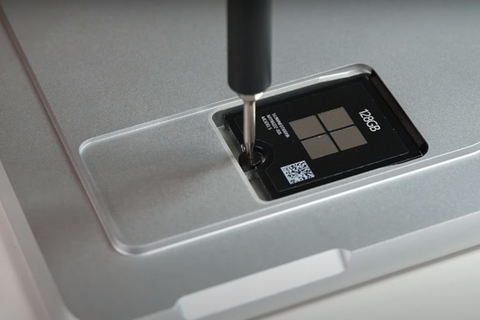

- Unscrew one 2.4mm long screw securing the SSD card.
- Remove The SSD card.
Step 7 Tape The Screen
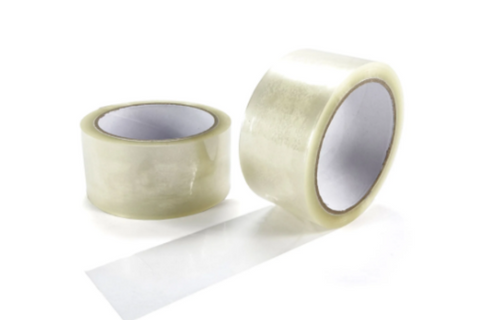
- Cover the cracked display screen of your Microsoft Surface Pro 9 with transparent tape strips.
- The transparent packaging tape will protect the screen glass of your Surface Pro 9 from further damage. It will also protect you from the glass particles of the broken screen.
Step 8 Heat The Screen Edges

- Take a hot air gun or hairdryer. Adjust medium heat settings on your hot gun or hairdryer. You can also use a Hot plate to heat the Surface Pro 9 screen.
- Heat the edges of the screen for at least 5 minutes to melt the adhesive around the edges of the screen.
Step 9 Apply A Suction Cup

- Place your Surface Pro 9 in a facing-up position.
- Apply a suction cup near the bottom right edge of your Surface Pro 9 screen.
Step 10 Insert An Opening Pick
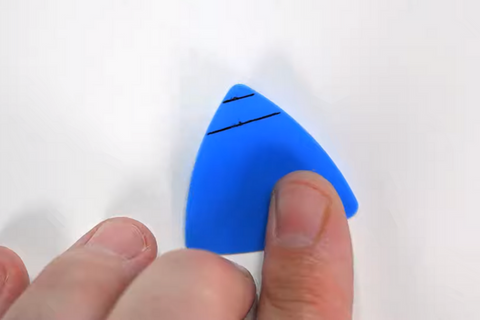

- Take an opening pick.
- Mark 2mm on the opening pick.
- Insert the pick inside the gap between the screen and the tablet frame.
Important Tip
- Do not insert the pick more than 2 mm as it may damage the sensitive internal parts of your tablet.
Step 11 Cut The Adhesive
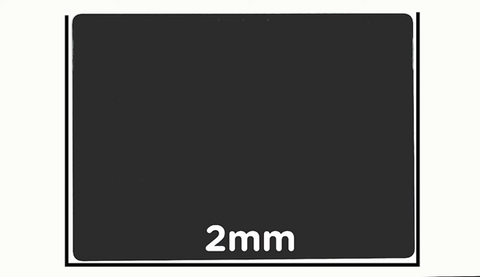
- Move the opening pick from one corner of the screen to the other. Keep sliding the opening pick all around the corners of the screen until you slice adhesives from all sides of the screen.
Step 12 Open Surface Pro 9
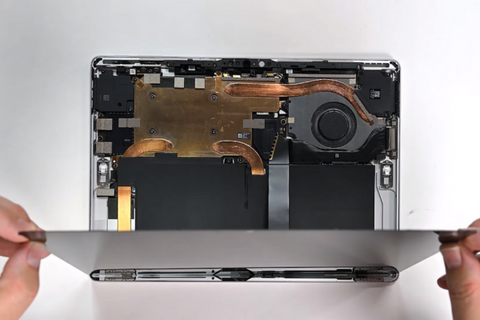
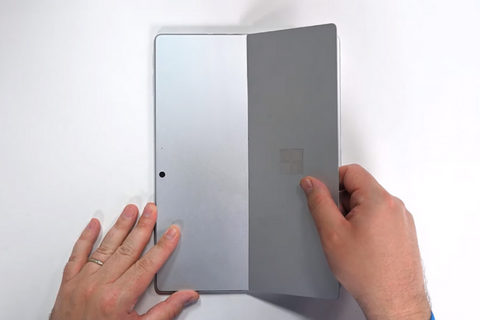
- Use your fingers to hold and open the Surface Pro 9 like a book.
- Hold the screen in the upright position.
Step 13 Remove The Silver Tape
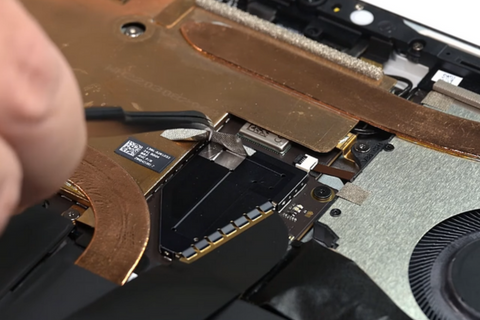
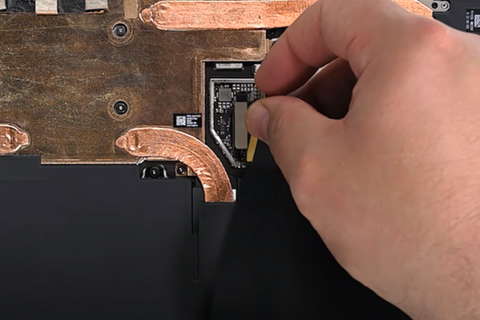
- Use a pair of tweezers to remove the silver tape above the display cable press connector.
Step 14 Pry Up The Black Shield
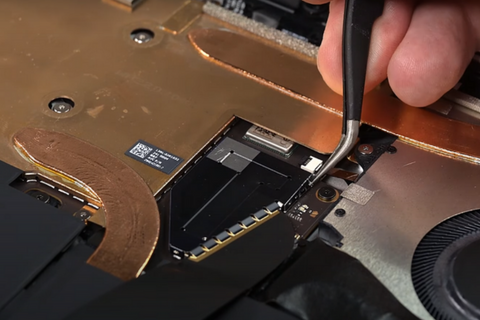
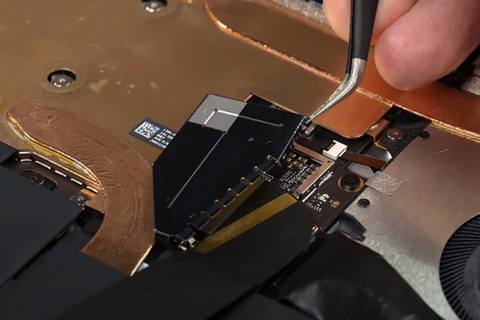
- Now, use a pair of tweezers to remove the black shield of the display cable press connector.
- Use a spudger to disconnect the display cable.
Step 16 Remove The Screen
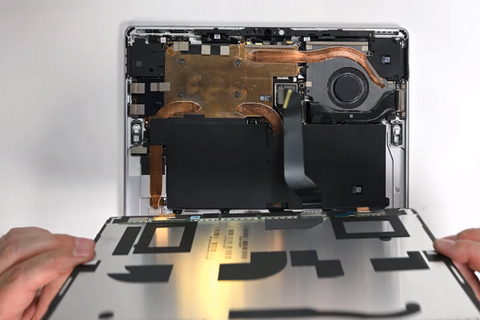
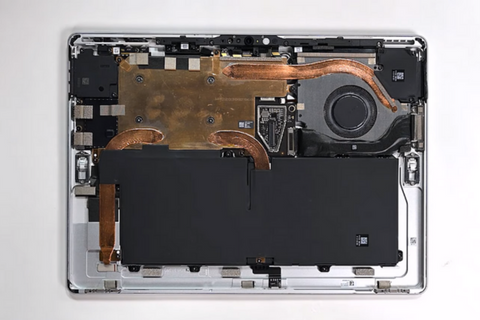
- Remove the defective screen from the frame of the Surface Pro 9.
Step 17 Remove The Old Adhesive
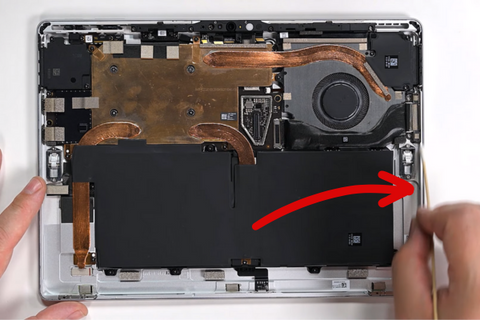
- Dip a cotton bud in isopropyl alcohol.
- Apply isopropyl alcohol on the remaining adhesive around the tablet's edges with the help of the cotton bud.
- Remove the old adhesive with an opening pick or use a lint-free cloth to wipe away the old adhesive glue.
- Let the surface dry completely before applying the new adhesive.
Step 18 Install The New Screen

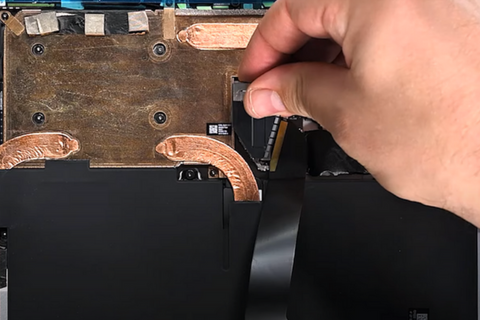
- Connect the display cable press connector of the new screen to the tablet.
- Apply new adhesive around the edges of the tablet.
- Attach the screen to the frame of Surface Pro 9.
Step 19 Reassemble Your Surface Pro 9
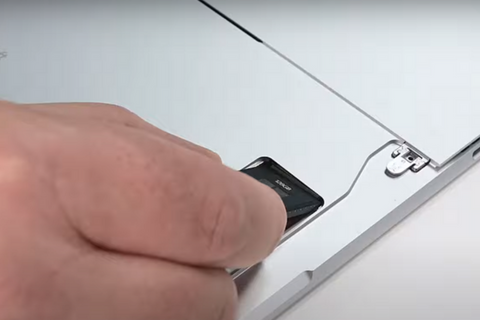

- Insert the SSD card into its recess.
- Fasten the screw of the SSD.
- Fix the SSD door to its position.
- Fasten the hinge screws of the kickstand.
Bottom Line
Congratulations! You have successfully learned how to replace the damaged screen of your Microsoft Surface Pro 9 with our easy guide. Turn on your Surface Pro 9 and test the new screen.


