Are you looking for an easy guide to take screenshots on your Surface Pro? Your search ends here! Follow our step-by-step guide to take a screenshot on Microsoft Surface Pro.
Let’s learn how to take a screenshot on Microsoft Surface Pro!
Methods To Take A Screenshot On Microsoft Surface Pro
You can take a screenshot on your Microsoft Surface Pro by following methods:
Method 1 Screenshot Tool On Surface Pro

- Press the Power and Volume up buttons at the top-right or left of your Surface Pro.
- You will observe a quick animation on your display screen.
- Open the Surface Pro Gallery or Photos app.
- Open the screenshot folder.
- Double-click the screenshot to view or edit it.
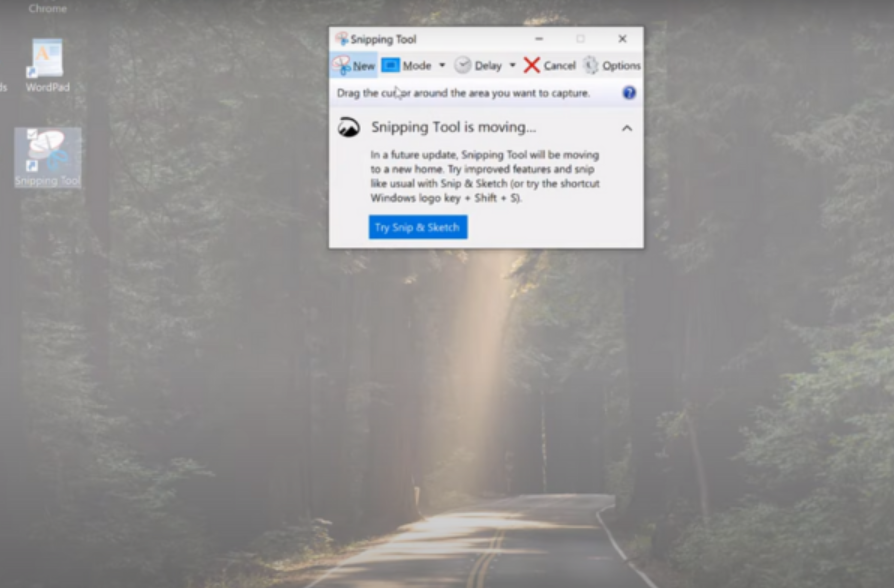
Method 2 Snipping Tool

- Press and hold the Windows key+Shift+S together.
- Your screen will become dark.
- A cursor will appear on the screen.
- Drag the cursor to select the specific area of the screen you want to capture.
- Your screenshot will be captured and copied to your clipboard.
- Press Ctrl + V to paste the screenshot.
How To Save Screenshots On Your Microsoft Surface

- Press the Windows logo and the Volume Down button to capture a screenshot.
- Open Paint or MS Word to save the screenshot as an image.
- Press the Ctrl + V keys to paste the screenshot, or right-click on the screen and select Paste from the menu.
Tips And Tricks For Capturing Screenshots On Surface Pro

- To capture the whole screen, press and hold the Window logo button + Volume Down button together for a few seconds.
- To capture a specific area of the screen, use the Snipping Tool. Press Window Key+Shift+S to activate the snipping tool.
- To capture a specific window, press Alt + Print Screen. It will take a screenshot of the active window.
Troubleshooting While Taking Screenshots On Microsoft Surface

You can troubleshoot common issues while taking screenshots on Microsoft Surface Pro by following methods:
Update Software
Update your device software by following these steps:
- Goto System Settings
- Select Update & Security to update the system software of your device.
Check Keyboard
Check your keyboard’s functionality. Restart your device to reconnect the detachable keyboard.
Check Storage Space
It is essential to have enough storage space to save screenshots. Delete unimportant files or documents to make space for screenshots.
Try Different Methods
You can use the Snipping Tool or Snip & Sketch app to take screenshots on Surface Pro. There are also some third-party apps like Greenshot and Snagit for taking and saving screenshots.
Restart Your Surface Pro
Occasionally, by restarting your Surface Pro, you can solve screenshot problems. If the problem persists, reset your device settings to default.
Bottom Line
Excellent job! You have successfully learned how to take screenshots of the screen as a whole, a specific area, or a window on Microsoft Surface Pro. Take screenshots and share them with others.

