iPhone 6S is a Legendary phone made by Apple, and it's crazy to think that is already 5 years since this phone came out. Apple sold millions of these worldwide. And since the iPhone 6S is still a great phone to use and can handle almost everything it's still worth fixing it if you have it broken.
Change the display on your iPhone 6S wholly by yourself. All you need is the Apple iPhone 6S Screen Repair Kit. Follow the instructions step by step, and you will soon be able to enjoy a working display again.
1) Switch off your device

To begin turn off your iPhone 6S totally to abstain from harming it during the fix. Press the Sleep/Wake button for around three seconds until the slider marked "power off" shows up. Swipe it from left to right.
2) Remove enclosure screws

Use a pentalobe screwdriver to remove the two screws circled in red on the picture above. Those screws are on both sides of the charging connector.
3) Lift the Display
To open the telephone you will require an attractions cup, a hard plastic pick, and a heat gun (a hairdryer will likewise work), which you get in the pack aside from the heat gun.The screen is glued to the frame, use a heat gun to heat the outer edges of the display to about 60°C (140°F). You can do it without the heat gun but it's easier with it.
Place the suction cup over the Home button or next to it. While lifting the screen with it, insert hard plastic pick between the aluminum frame and the display. Press down the aluminum frame and slide the pick all around the iPhone between the aluminum frame and the display frame. Try not to stick the pick in too far because that could damage the flexible flat display cables.
Use the pick to push the display so the tabs come out of the aluminum frame. Open the display to about a 90º angle and lean it against something to keep it propped up while you're working on the phone.
4) Remove display assembly connector bracket
Use a cruciform screwdriver to remove the five screws that are holding the display assembly connector bracket. And then use tweezers in order to remove it.
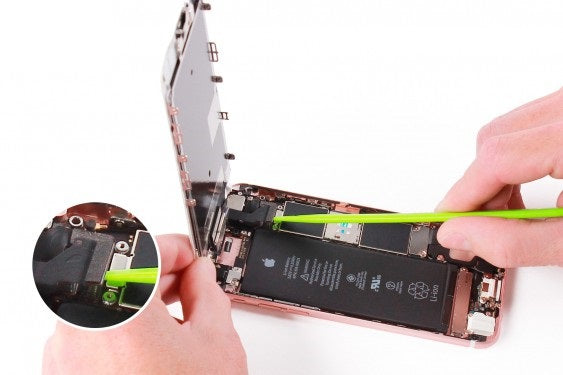
5) Disconnect LCD screen connector
Use a nylon spatula to disconnect the LCD and Touch screen cables.
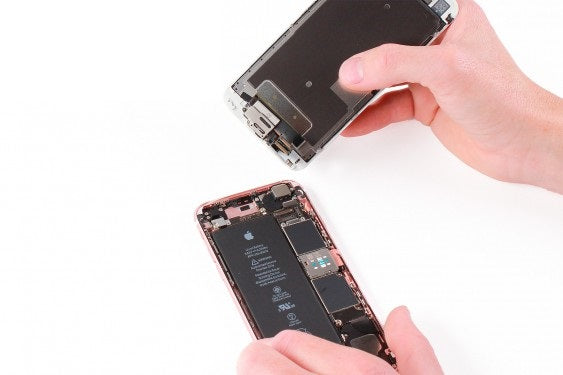
6) Lift the screen
Keep the spatula in your hand and disconnect the cable holding the display assembly to the iPhone 6S. Finally, you can lift the complete screen and remove it.
7) Disconnect home button
Use the cruciform screwdriver to unscrew the three screws that are securing the home button. Then use a pair of tweezers and grab the home button bracket and remove it. Grab your nylon spatula and disconnect the home button cable.
8) Remove home button
Keep spatula in hand and peel off the home button cable. Then use the same spatula to peel off the home button, and grab it with a pair of tweezers in order to remove it.
9) Reassemble with the new screen

Your iPhone 6S screen is completely disassembled. Now take your new screen and reassemble your iPhone 6S by following this guide in reverse order and then test everything up to make sure you did everything properly.
Test everything
Congratulations, you changed your iPhone 6S screen. Now just test a few things to make sure everything is working properly:
-Test the brightness of the display.
-Test the touchscreen, select an app, and drag it all around the display. If it is following your finger everything is fine.


